
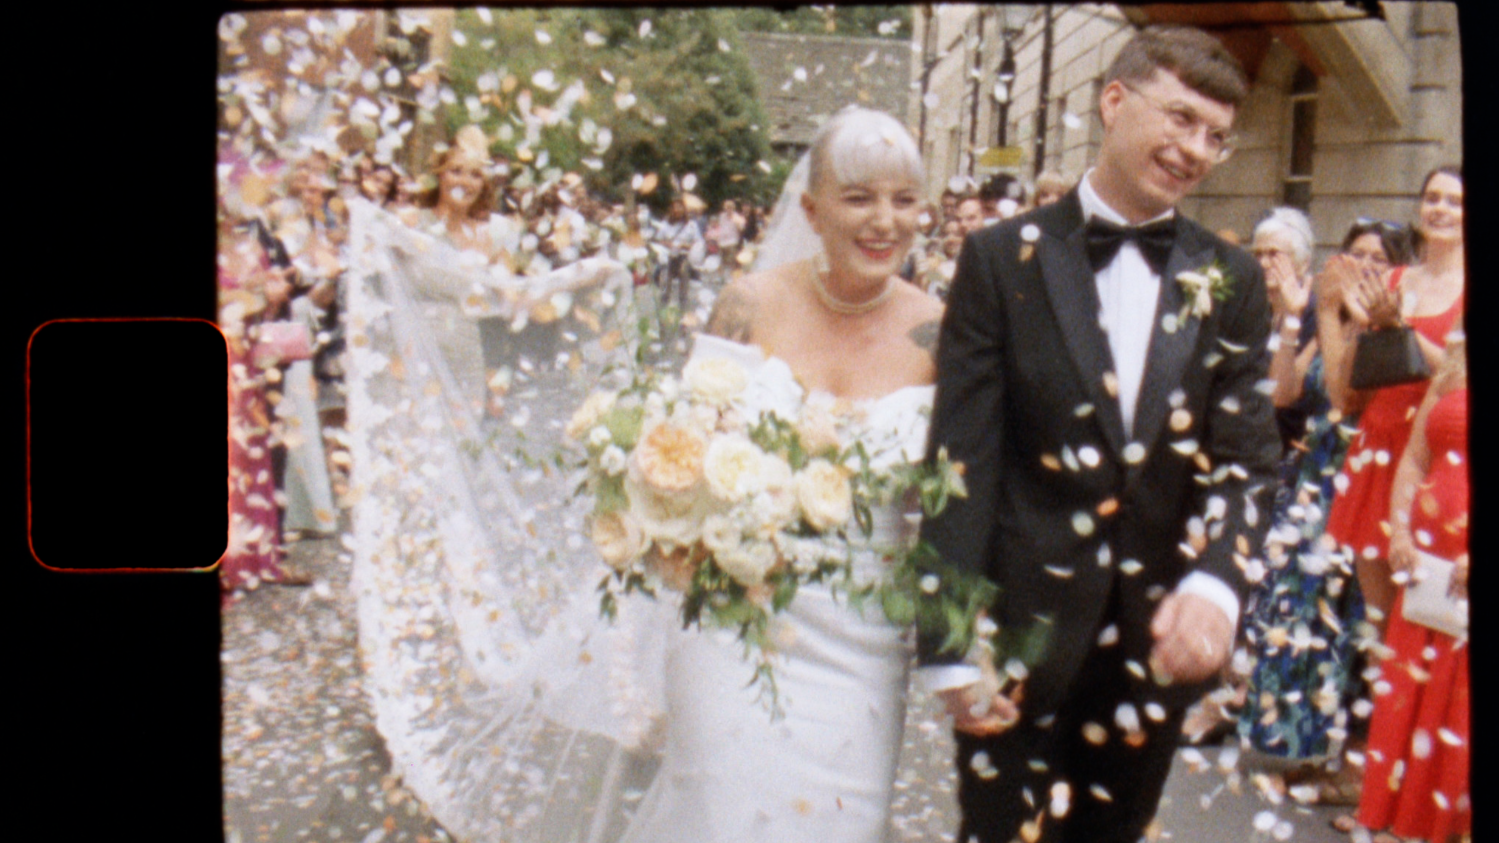
So, you've started shooting Super 8! You've loaded your camera, shot your first few rolls, sent them off for processing and scanning, you chose a single light RAW scan and now you've got your footage back. Now comes the next part. Colour grading.
How do you get those vibrant colours out of your footage? How much contrast should you add? How do you get that beautiful, nostalgic Super 8 look without making everything look a bit overdone?
If you're new to shooting Super 8, the colour grading process can feel a little daunting. Especially when you've already invested a fair bit of money into shooting and developing your film!
Choose single light, raw scans for the most colour grading flexibility in the edit.
When you're working with flat Super 8 scans, you have the freedom to decide how you'd like your finished film to look. You might want to bring out the warmth of a sunny afternoon, add a little more contrast or make the colours feel richer.
And that's one of the lovely things about shooting on film. You've already got all that gorgeous analogue character to work with.
You're not trying to make digital footage look like Super 8. You're working with the real thing!
Where Do You Start?
If you're opening your first Super 8 scans in your editing software, my advice would be to keep things simple. You don't need to start adjusting every colour wheel and setting you can find.
Instead, concentrate on a few basics.
1. Start With Exposure
Have a look at how bright or dark your footage is.
Can you see enough detail in the shadows? Are the highlights looking too bright?
Making small adjustments to your highlights, shadows and exposure helps balance the image before you start getting creative with colour.
2. Add Some Contrast
Flat scans often have relatively low contrast, so adding a little can help give your image more depth. But go gently! Too much contrast can mean losing details in the highlights and shadows.
3. Look at Your Colours
Now comes the fun bit. You can start adjusting the colour balance and saturation to bring out the tones you're after.
Maybe your footage needs a little warmth, or perhaps the colours need a slight boost with saturation. It's tempting to go all in with the saturation, but often a little adjustment goes a long way.
4. Don't Aim for Perfection
Super 8 isn't supposed to look perfect.
The grain, the movement, the occasional unexpected colour shift. They're all part of what makes shooting on film so special.
You don't need every shot to look identical, and you certainly don't need to spend hours trying to make your Super 8 footage look like something shot on a modern digital camera.
What If You'd Like a Little Helping Hand?
When you're just starting out with Super 8, learning to colour grade can feel like a whole new skill to master and sometimes, having a good starting point makes all the difference.
That's where LUTs come in. A LUT is a file that applies a predefined colour transformation to your footage. Think of it a little like a preset for your video.
Instead of having to work out all the colour adjustments yourself, you can apply a LUT to give your footage a look and then make your own tweaks from there.
It's a brilliant way to get started, particularly if you're still learning your way around colour grading.
Introducing the Super 8 LOVE LUTs
I've been shooting genuine Super 8 film as part of my wedding videography work for years, and I've spent a LOT of time working with flat scans.
I absolutely love the process, but I also know how much time can disappear when you're trying to get the colours just right.
So I created the Films About Love Super 8 LOVE LUTs.
Three signature colour grading LUTs designed specifically for genuine Super 8 film scans.
They're not designed to make digital footage look like Super 8. They're made for actual Super 8 film that's been shot, processed and scanned.
I've created a separate LUT for each of the three Kodak Vision3 colour negative film stocks:
50D LOVE LUT – for Kodak Vision3 50D
200T LOVE LUT – for Kodak Vision3 200T
500T LOVE LUT – for Kodak Vision3 500T
How Do You Use a Super 8 LUT?
Once you've imported your Super 8 scans into your editing software, you apply the LUT that corresponds to the film stock you've used. You'll see the colours and contrast change.
From there, you can change the intensity and also make any further tweaks you’d like. Perhaps your footage needs a little more exposure, or you'd like to warm things up slightly. Sometimes, you might be perfectly happy with the result straight away.
The LOVE LUTs are supplied as downloadable .cube files, which can be used in compatible editing and grading software such as Final Cut Pro, Adobe Premiere Pro and DaVinci Resolve.
They're developed for flat, single-light scans with a Rec.709 SDR output, so it's worth checking your project and scan settings before applying them.
Ready to Colour Grade Your Super 8 Footage?
If you're just starting your Super 8 journey and you've got your first flat scans ready to grade, I hope this has helped make the process feel a little less intimidating.
If you'd like to give yourself a head start, my Super 8 LOVE LUTs are available individually for Kodak Vision3 50D, 200T and 500T, or as a complete bundle.
They're designed to take some of the guesswork out of colour grading, so you can spend more time creating beautiful films.
Shop the Films About Love Super 8 LOVE LUTs
Happy shooting (and grading)!
Much Love,
Becky x